
Set up your digital identity
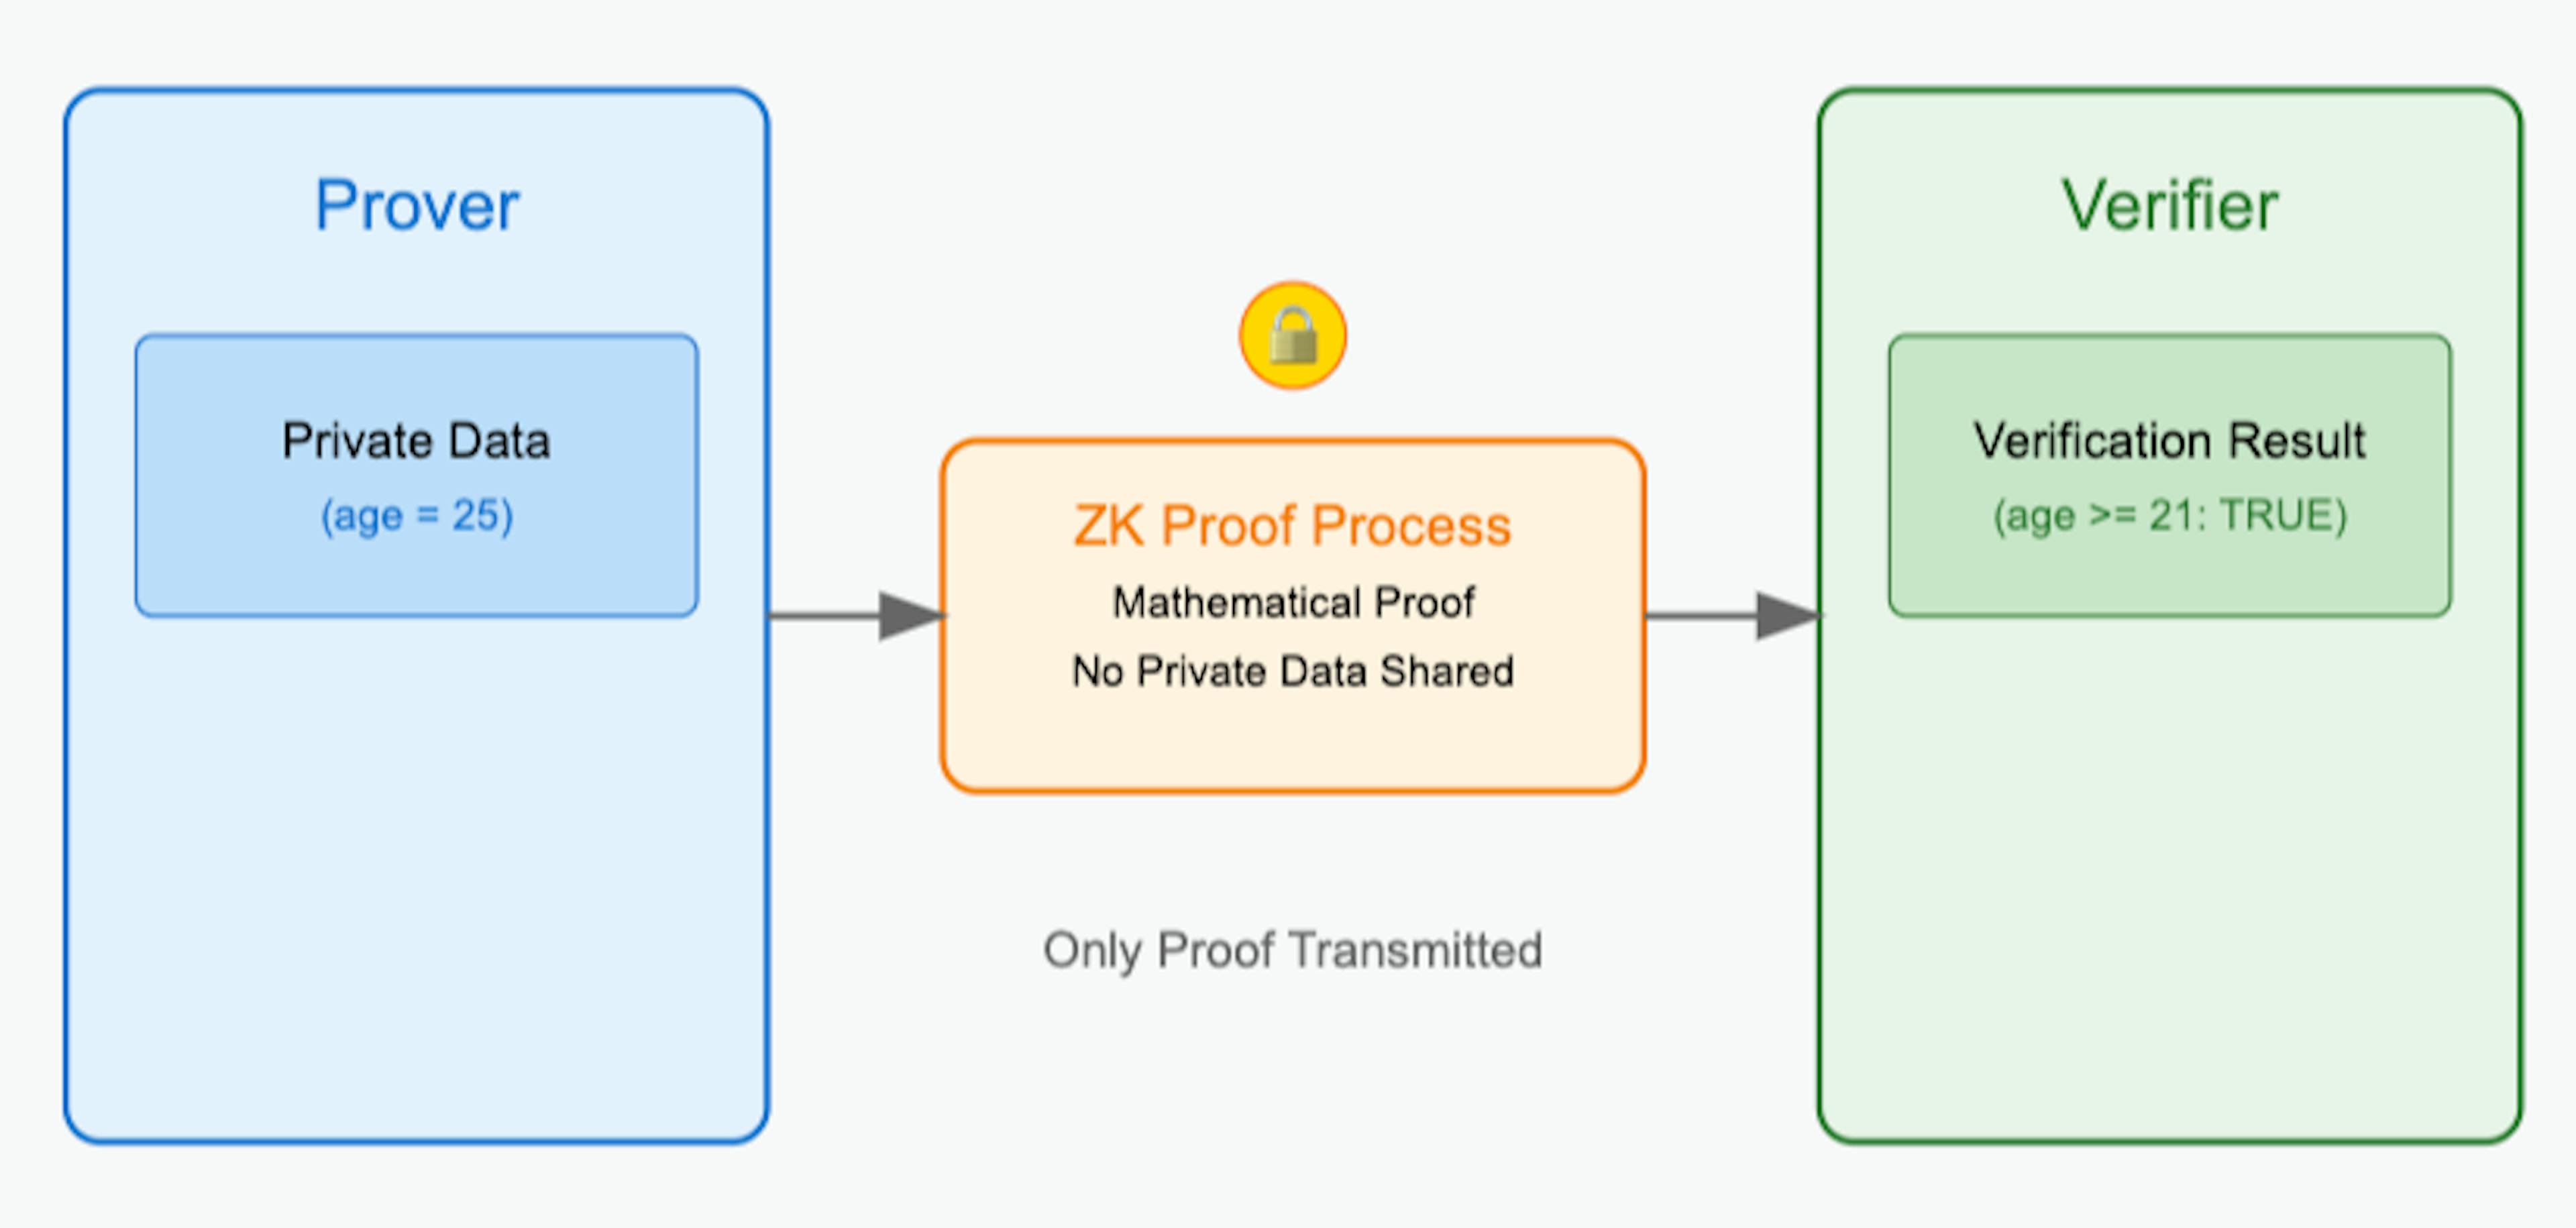
Before you can begin completing ZK verified tasks, you need a dedicated digital identity that can interact with zero-knowledge proof networks. This identity serves as the anchor for all subsequent proof generation, allowing you to prove attributes or actions without exposing your underlying personal data.
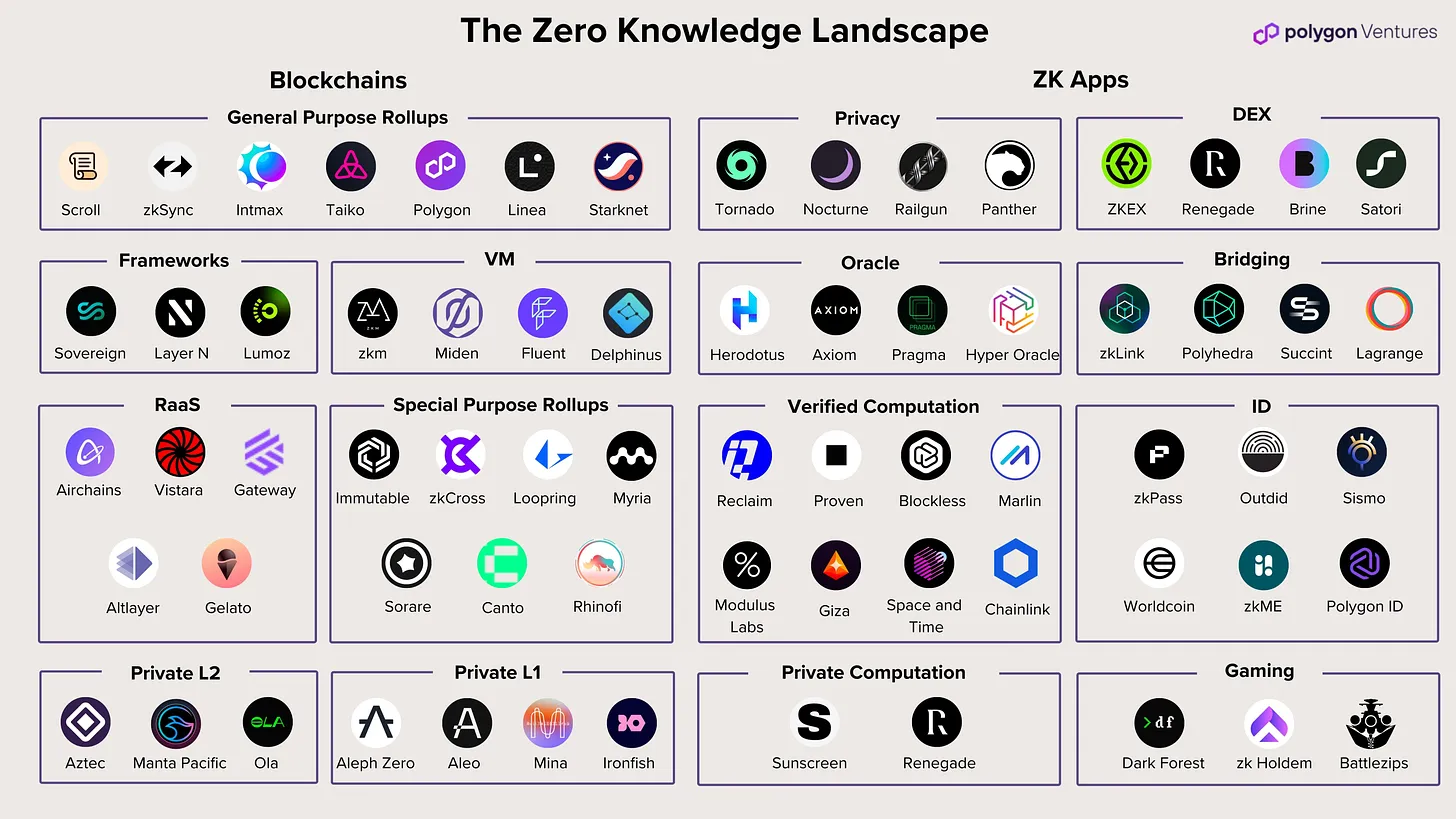
Start by selecting a compatible identity wallet. Unlike traditional logins, a decentralized identifier (DID) wallet stores your cryptographic keys locally. Popular options include tools like Polygon ID or World ID, which are designed to interface directly with ZK circuits. Ensure the wallet supports the specific proof standards required by the tasks you plan to complete, such as W3C DID standards.
Once the wallet is installed, generate your DID. This process creates a unique identifier linked to your public key. You will then need to link this identity to verifiable credentials. These credentials act as digital attestations—proofs of age, residency, or reputation—that you can selectively disclose to task platforms.
This setup creates a privacy-preserving layer. When you submit a ZK proof, the network verifies the cryptographic signature against your DID without ever seeing the raw data. This ensures that your task completion is authentic while keeping your sensitive information private.
Configure the proof generation environment
Before you can generate valid ZK proofs for remote work verification, you need a local environment that matches the requirements of the zkVerify protocol. This section walks through installing the necessary cryptographic libraries and setting up the local node. Follow these steps to ensure your setup is ready for proof generation.
Noir is the primary programming language for zkVerify circuits. Install the Noir compiler using the official installation script. This tool compiles your ZK circuits into a format that the verifier can understand. Ensure you are using the latest stable version to avoid compatibility issues with the zkVerify backend.
The zkVerify protocol requires a local node to manage proof requests and responses. Set up a compatible database and backend service to handle the signed readings from your workflow. This node will pull the data, verify signatures inside your Noir circuit, and prepare the proof for submission. Follow the zkVerify documentation for specific node configuration steps.
Run a test circuit to confirm your environment is correctly configured. Generate a simple proof using a sample workflow and submit it to your local node. If the proof verifies successfully, your setup is ready. If it fails, check the logs for errors related to the Noir compiler or node connectivity.
Run the task workflow locally
To complete a ZK-verified task, you must execute the actual remote work—such as data processing, code execution, or content generation—within a controlled local environment. This step ensures that the work is performed correctly before any cryptographic proof is generated. The goal is to capture the necessary inputs and intermediate states without exposing proprietary data or sensitive code to the verifier.
Start by preparing your local workspace. Ensure your environment matches the specifications required by the task provider. This typically involves setting up the necessary dependencies, libraries, and runtime versions. A mismatched environment can lead to execution errors that invalidate the final proof, so consistency is critical.
Launch your local development environment or virtual machine. Mount the task-specific directories and ensure network isolation if required. This container acts as the secure boundary for your computation, preventing external interference during the process.
Run the core script or application that performs the work. Monitor the output for any errors or unexpected behavior. This is the actual "work" phase, where you generate the results that will later be proven. Ensure the script completes successfully and produces the expected output files.
As the task runs, capture intermediate state hashes. These hashes serve as checkpoints, verifying that each step of the computation was performed correctly. They form the backbone of the zero-knowledge proof, allowing the verifier to trust the outcome without seeing the raw data.
Once the workflow completes, export the final results and the associated proof data. This package includes the output files and the cryptographic evidence of execution. Verify that all files are intact and properly formatted before proceeding to the submission phase.
By following this sequence, you ensure that the ZK-verified task is executed with integrity. The local environment protects your intellectual property, while the captured hashes provide the necessary evidence for verification. This approach balances transparency with privacy, allowing you to complete remote work securely.
Generate and submit the ZK proof
This section details the cryptographic process of turning local task data into a zero-knowledge proof and submitting it to the verification layer (like zkVerify).
1. Prepare the proving key
Before generating a proof, you need a proving key. This key is specific to the circuit (the logic of your task) and is generated during the setup phase. You typically download this key from the circuit's official repository or generate it yourself if you have the trusted setup parameters.
2. Input your task data
Provide your local task data as inputs to the proving system. This data is kept private and never leaves your device. The proving system uses the proving key and your inputs to compute a mathematical proof that the task was completed correctly.
3. Generate the proof
Run the proving algorithm. This process can be computationally intensive, depending on the complexity of the circuit. Modern proving systems like zkVerify are optimized to generate proofs in seconds, making them practical for real-time applications like gaming or voting.
4. Submit the proof
Once generated, you submit the proof to the zkVerify network. This is typically done via a transaction to the zkVerify smart contract or through their API. The network verifies the proof's validity against the public verification key.
5. Receive verification
If the proof is valid, zkVerify records the verification on-chain. This confirmation is now public and immutable, allowing other smart contracts to trust the result of your task without needing to know the underlying data. This process reduces verification costs to less than 1/100th of the cost on Ethereum, making it highly efficient for scale.

Download the proving key specific to your task circuit from the official source. This key is essential for the proving algorithm to function correctly.

Provide your private task data as inputs to the proving system. This data remains local and is never exposed during the proof generation process.

Run the proving algorithm using the key and your inputs. This step computes the mathematical proof that your task was completed correctly, which may take a few seconds to minutes depending on complexity.
Submit the generated proof to the zkVerify network via API or on-chain transaction. The network will validate the proof against the public verification key.
Once verified, the result is recorded on-chain. This public confirmation allows other smart contracts to trust the outcome without revealing your private data, significantly reducing verification costs.
Verify the proof on-chain
Once your task is complete and the zero-knowledge proof is generated, the final step is to broadcast it to the blockchain. This action submits the cryptographic evidence to the network, allowing anyone to confirm the work was done correctly without exposing the underlying data. Think of this as the final seal on a locked envelope; the contents remain private, but the seal proves the package arrived intact and untouched.
You will need the proof object (often a JSON file or structured data) and the public parameters required by the specific protocol. Navigate to the task’s verification interface or use a dedicated dApp that supports the relevant ZK circuit. Paste or upload the proof and submit the transaction. The network will run a verification algorithm to check the mathematical consistency of the proof against the public inputs.
After submission, the transaction enters the mempool and waits for inclusion in a block. The time required depends on the blockchain’s current congestion and your chosen gas fee. Once the block is confirmed, the smart contract records the proof as valid. You can now view the transaction on a block explorer to confirm the status. Look for a successful execution event or a "Verified" status in the contract logs. This on-chain record serves as the immutable proof that the task was completed according to the rules.
Common pitfalls in ZK verification
Even with robust tooling, ZK-verified tasks often stall on three specific errors. Circuit mismatches, gas estimation failures, and identity signature issues are the most frequent blockers. Fixing them requires checking the proof structure, adjusting transaction parameters, and validating the wallet connection.
Circuit mismatches
A circuit mismatch occurs when the proof generated does not match the expected verification key. This usually happens when you compile a new circuit but forget to update the verification contract on-chain. The verifier rejects the proof because the arithmetic constraints have changed. Always re-deploy the verification contract after any circuit modification to ensure the on-chain key matches the prover's output.
Gas estimation failures
ZK proof verification is computationally expensive. If your gas limit is too low, the transaction will revert before the proof is processed. This is common in L2 environments where proof verification costs can fluctuate based on network congestion. Estimate gas with a 20% buffer above the standard limit to account for the heavy cryptographic operations required for verification.
Identity signature issues
Identity signature failures typically stem from expired credentials or incorrect key derivation. If the identity provider’s certificate has expired, the verifier will reject the proof even if the underlying data is valid. Check the validity period of the identity credential and ensure the signing key matches the one registered with the ZK service provider.
ZK-verified tasks checklist
Use this sequence to complete a ZK-verified task without exposing private data. This workflow ensures your proof is generated correctly and submitted to the right network.
-
Inputs match circuit schema
-
Proof generated successfully
-
Local verification passed
-
On-chain submission confirmed
No comments yet. Be the first to share your thoughts!